Ansible
This article will take you through the development process of an Ansible playbook for CloudShell App deployment.
Prerequisites
- Execution Server installed on Linux machine, with the
ansibleattribute enabled. - Ansible 2.2 installed (not provided – should be installed manually by the user).
This can be easily done by deploying the Linux Virtual Appliance, which installs the Execution Server and Ansible on a Linux machine.
Ansible playbooks for Apps
Before running the playbook in an App, it is recommended to test it manually. To do that, follow these steps:
1) On a Linux machine, access the /etc/ansible/ansible.cfg file and uncomment the line:
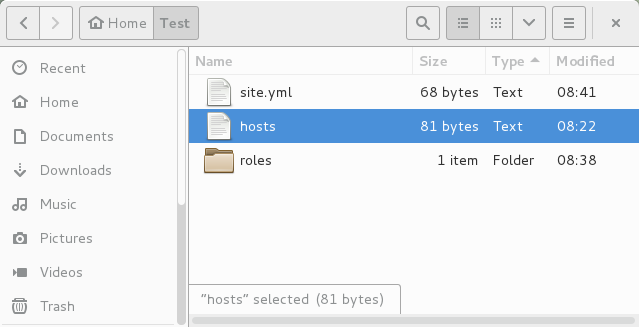
host_key_checking = False2) Create a folder that will be the root of your test. This folder will contain the Ansible playbook as well as any additional folders and files required by the playbook.
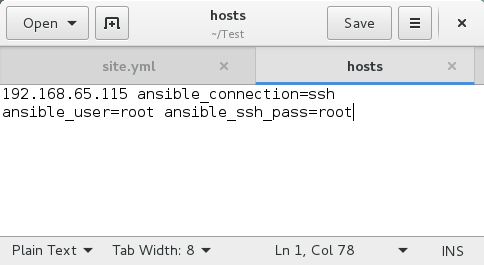
3) Add an inventory file with hosts and their groups (optional) for testing.
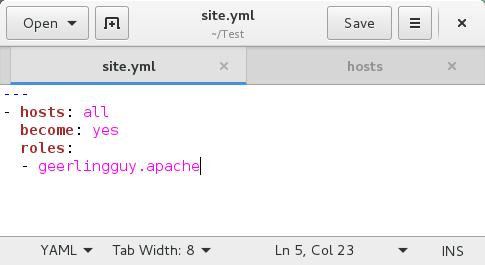
4) Add one or more playbook files.
Note: If you plan on using several playbook files in the App, make sure the main one is named site.yml.
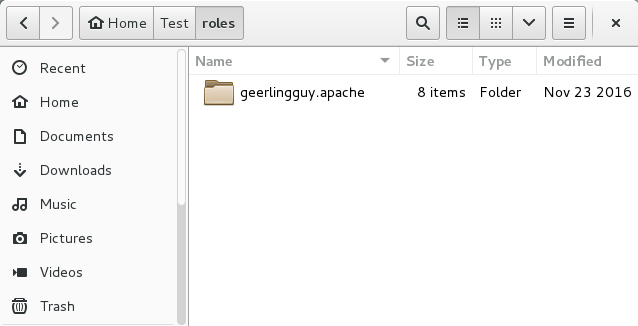
5) [Optional] Add a “roles” folder.
6) [Optional] And populate it with the desired roles.
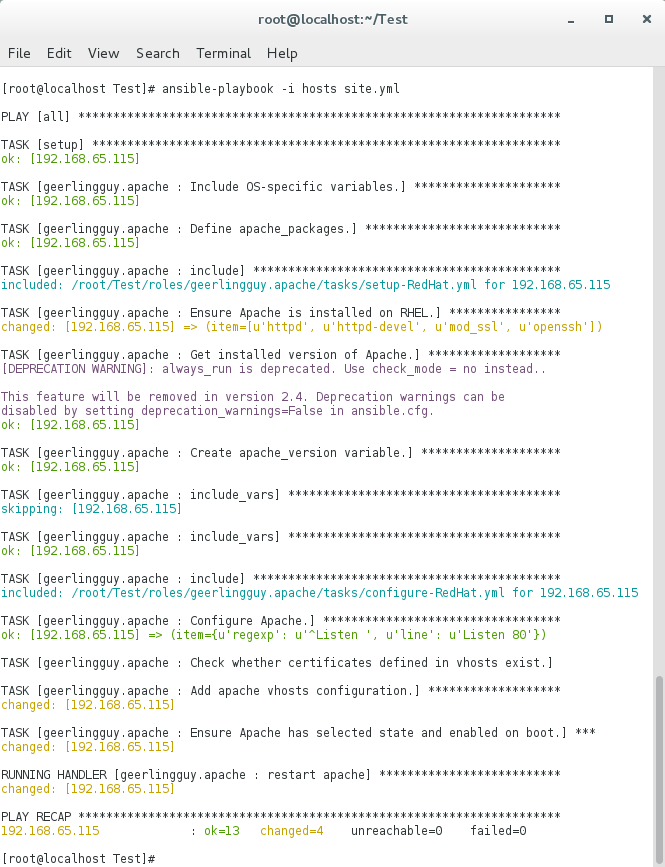
6) Test the playbook by running ansible-playbook –i <InventoryFile> <MainPlaybookFile.yml>. For some sample playbooks, see Ansible Playbook Examples.
7) Once you are done developing your playbook, zip the playbook files along with the roles folder, upload it to a repository, and set the URL in the App template, as explained in Adding the Playbook to an App.